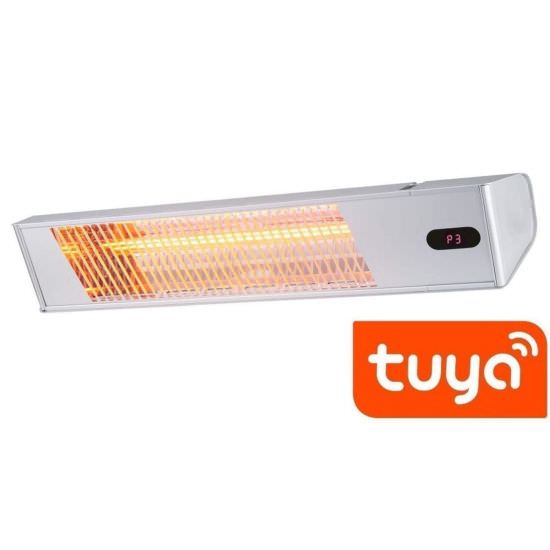
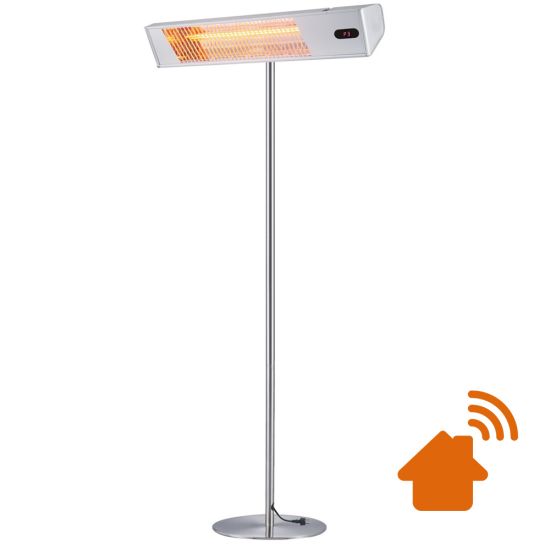
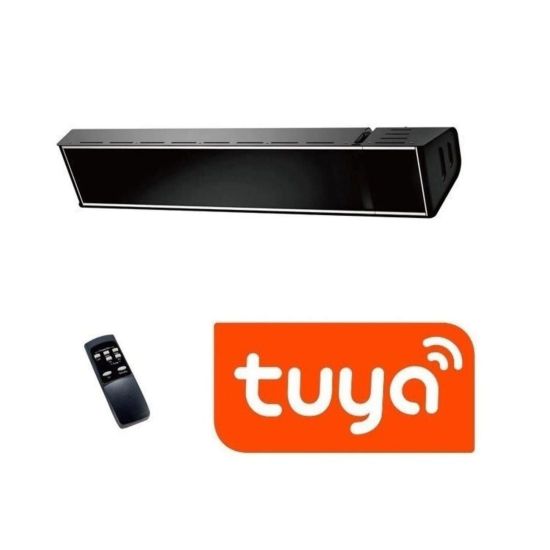
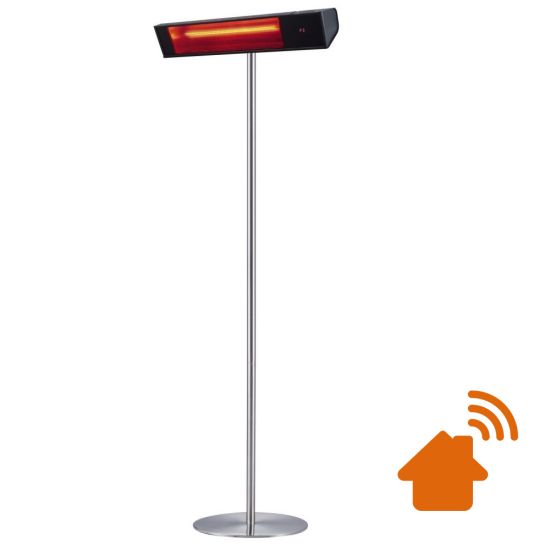
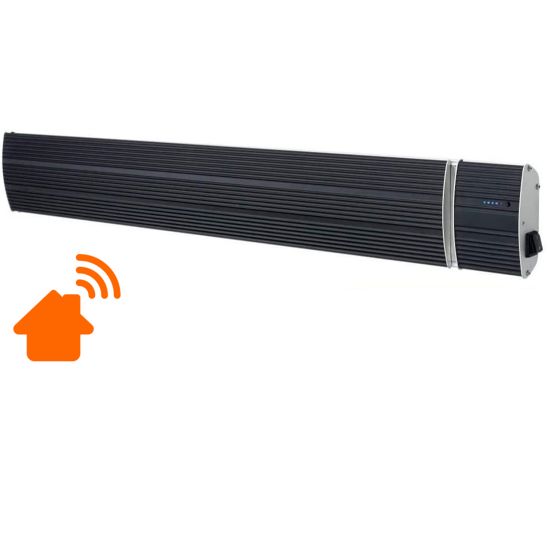
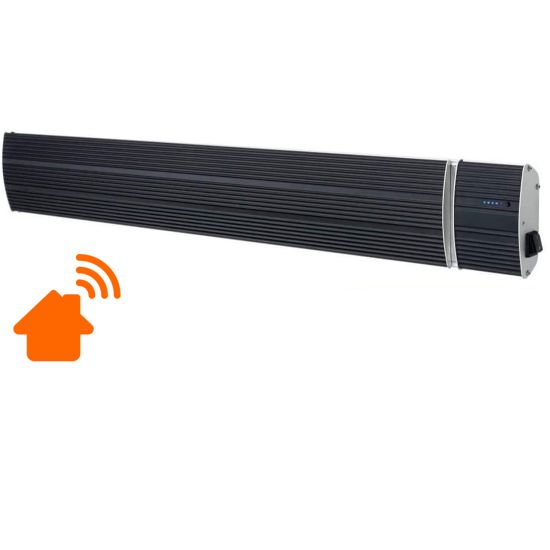
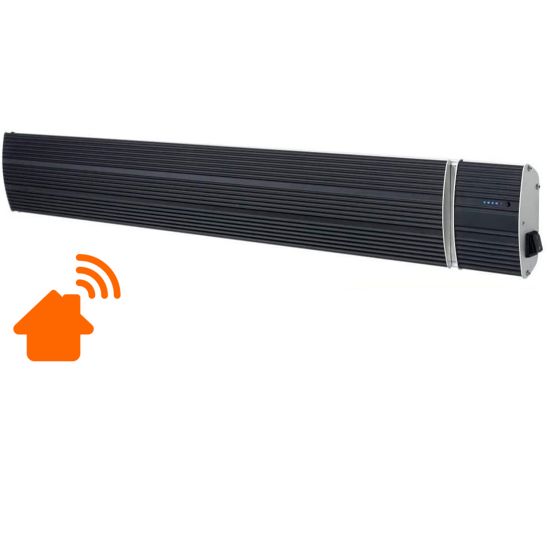
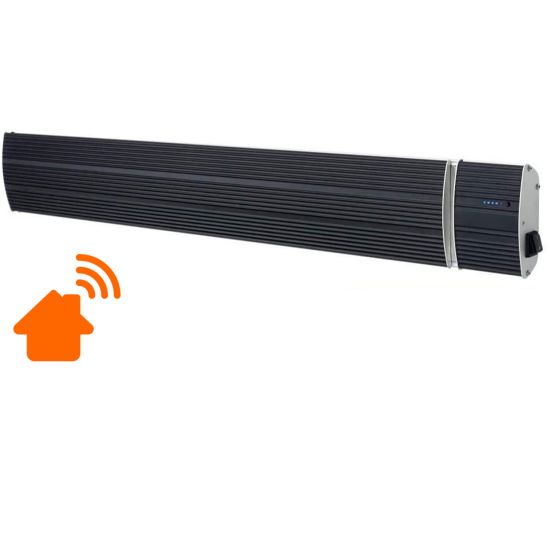
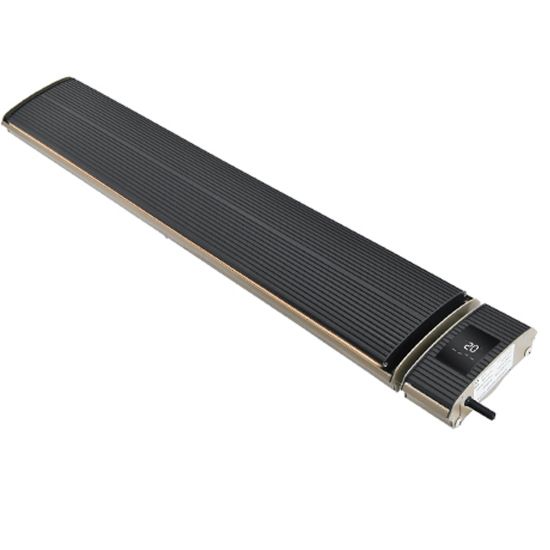
Infrared heating has now reached an unparalleled standard of quality and safety. We often recommend this type of heating to our customers depending on their needs. Suitable for all uses, whether commercial, industrial or domestic, they have an unparalleled range of application. Great savings of electricity and the sophisticated design sometimes make them real elements of furniture, both external and internal.
 |
 | |
| how to install the heater | ||
| install the heater | ||
| install the heater | ||
| easy installation heater | ||
| infrared panel installation | ||
 |
 | |
| heat with right price! | ||
| heat to buy online | ||
| heat fast shipping | ||
| buy now your heat | ||
| heat special offer | ||
| heat ok right price! | ||
| heat with secure credit card purchase | ||
| heat with low price | ||
| heat great price! | ||
| heat with secure payment at right price | ||
| heat with secure payment at best price | ||
 |
Instruction manual for wifi electric heaters managed by App |
 | ||||||||||||||||||||||||||||||||||||||||||||||||||||||||||||||||||||||||||||||||||||||||||||
Models: Radiators Series 13W Infrared heaters managed remotely on your mobile phone via app (also in italian)MPCSHOP Infrared heater 3200 watts managed remotely via app Installed in your smartphone  Instruction Manual To be read carefully and kept Please read the instructions carefully before installing and using the product. This manual contains important information for setting up, operating, maintaining and troubleshooting the product. Failure to follow these instructions may damage and/or impair the operation of the product and void the warranty. 1. SAFETY PRECAUTIONS This appliance is not intended for use by persons (including children) with reduced physical, sensory or mental capabilities, or lack of experience and knowledge, unless they have been given supervision or instruction concerning use of the appliance by a person responsible for their safety. Children should be supervised to ensure that they do not play with the device. WARNING: To avoid overheating, do not cover the heater. 1. If the power cord is damaged, it must be replaced by the manufacturer, at an authorized service center or by qualified persons in order to avoid a hazard. 2. The heater may not be placed directly under a power socket. 3. Do not use the same socket together with other electrical appliances to avoid overloading. Ensure that the plug and socket are firmly connected. 4. If the appliance is switched off, pull the plugs out of the sockets without pulling the wires. 5. If the heater breaks down or the wires are broken, disconnect the power supply immediately. Users cannot repair heaters by themselves. In the event of a fault, contact the authorized service department for maintenance. 6. The heater cannot be placed directly under an electrical outlet. 7. The surface temperature of the heater is very high. Therefore the heater must be installed at a height of more than 2.2 metres above the floor. 8. DO NOT COVER the surface of the heater and do not place any objects on it. 9. The distance between the back of the heater and the ceiling must be more than 150 mm, no objects may be placed less than 1000 mm below the heater and a distance of at least 200 mm must be maintained to the side. 10. Switch off the power and wait until the heater is completely cold before cleaning it. It is absolutely forbidden to wash the heater with water. 11. Users may not repair the heater themselves. In the event of a fault or for extraordinary maintenance, contact the authorised service department. 12. Do not install and use the unit in easily flammable or explosive areas. 13. Do not insert metal or other foreign objects inside the heater to avoid accidents or personal injury. 14. Radiant heater with high surface temperatures from >50 and #8451;~386 and #8451;: forbidden to touch, beware of accidental burns 15. To avoid accidents do not spray water into the radiator. 2. INTRODUCTION Thank you for choosing our radiant heating system. Please read the instructions carefully before using the product and on how to install the heater 3. PRINCIPLE OF OPERATION The infrared heating panel is characterized by unique design and special manufacturing techniques for its realization. Using an aluminum panel with special coating, the heat emitted from the surface of the radiant panel is diffused by radiation and transferred to people, walls, floors, ceilings, furniture, etc. as if it were sunlight. In contrast to traditional convection heating systems, infrared heating does not involve air flow. This keeps the air in the room cleaner because dust and particles do not enter the airstream. The air stays less humid and gives a comfortable feeling of warmth similar to the warmth felt on a sunny day. 4. PERFORMANCE Comfortable: While using this product, no air flows, lights or smells will be generated, and the indoor air will remain clean and dust-free. Energy-saving: High efficiency in heat generation and heating by radiation, intelligent temperature control and energy saving. Reliable: The room temperature can be regulated at will, regardless of the seasonal outside temperature. Physical benefits: Radiant heating has beneficial effects on the circulation and subcutaneous cellular organization by producing resonance, releasing micro-circulation barriers, regulating the nervous system, promoting metabolism and increasing the body`s physical capabilities. Radiant heating brings excellent health benefits to people. 5. OPERATING CONDITIONS -Environmental temperature: -30 and #8451; ~ 30 and #8451; -Nominal voltage: 220-240V~ -Nominal frequency: 50Hz/60Hz -Relative humidity: less than 95% 6. CONDITIONS FOR INSTALLATION 1. Qualified installer: The electrical installation must be carried out by professionals, qualified personnel who are able to carry out the installation correctly in compliance with the current national regulations on electrical safety. 2. Conditions for infrared panel installation: (1) The electrical voltage must be maintained within ±10%, otherwise it must be overhauled before installation. (2) If there are safety hazards in the electrical installation, avoid installation until the safety hazards are eliminated. (3) Power lines must be equipped with earth leakage protection devices and a main circuit breaker. (4) The ground cable must be connected to the building grounding device, if this is not possible please consult a professional installer. Do not connect the ground cable to gas pipe, water pipe, lightning rod or telephone wires. ModelPower (W)Rated current (A)Voltage (V)Cable length (mm) JH-NR10-13W10004.3220-2402000 JH-NR18-13W18007.8220-2402000 JH-NR24-13W240010.4220-2402000 JH-NR32-13W320013.9220-240500 7.HEATER INSTALLATION INSTRUCTIONS 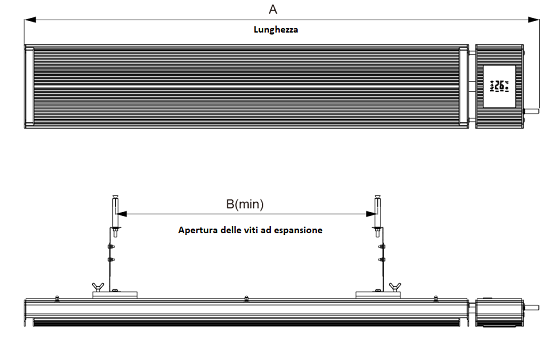 ModelMeasure AMMeasure B JH-NR10-13W755mm200mm JH-NR18-13W1155mm700mm JH-NR24-13W1655mm1200mm JH-NR32-13W2155mm1700mm Passo 1 e #65306;To install the heater Remove the side guards from the ends of the heater, below are some tips for an easy heater installation Step 2 and #65306;Attach the adjustment bracket to the sliding bracket  Step 3 and #65306;Install the sliding bracket and heater as indicated by the arrow  Step 4 and #65306;Fix the adjustment bracket to the wall with the expansion screws 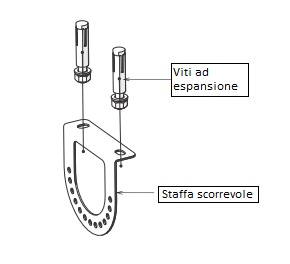 Step 5 and #65306; Mount the two adjustment brackets; make sure the brackets are tightened securely with the butterfly screw 8. INSTALLATION SCHEME 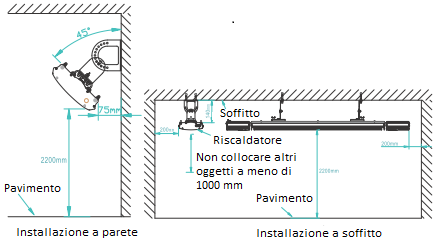 9.DISPLAY INTERFACE 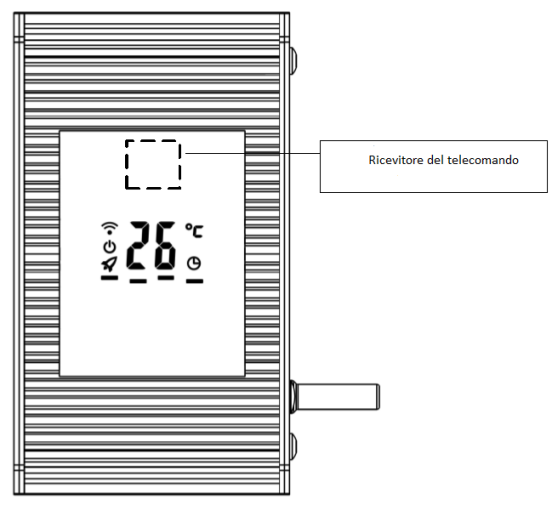 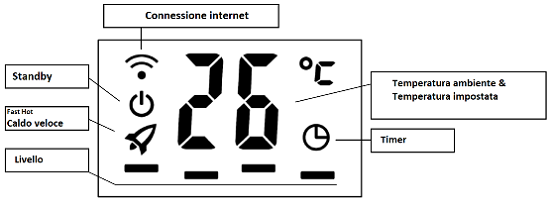 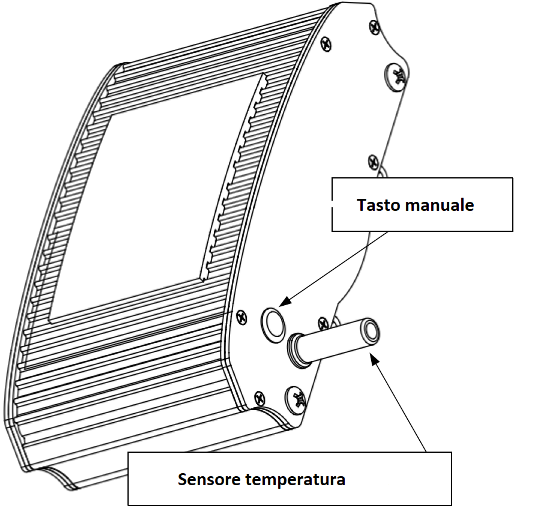 Manual button Press the manual button to turn on/off the heater and to set the heating level. Long press the manual button to pair the Wi-Fi network (details as in chapter 11). Temperature sensor Lets you detect the room temperature 10. REMOTE CONTROL OPERATION 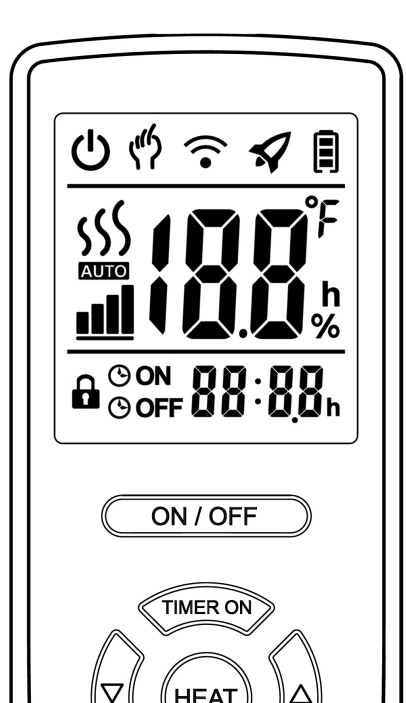
| ||||||||||||||||||||||||||||||||||||||||||||||||||||||||||||||||||||||||||||||||||||||||||||||
 |
 | ||||||||
|
| |||||||||||||||||||


